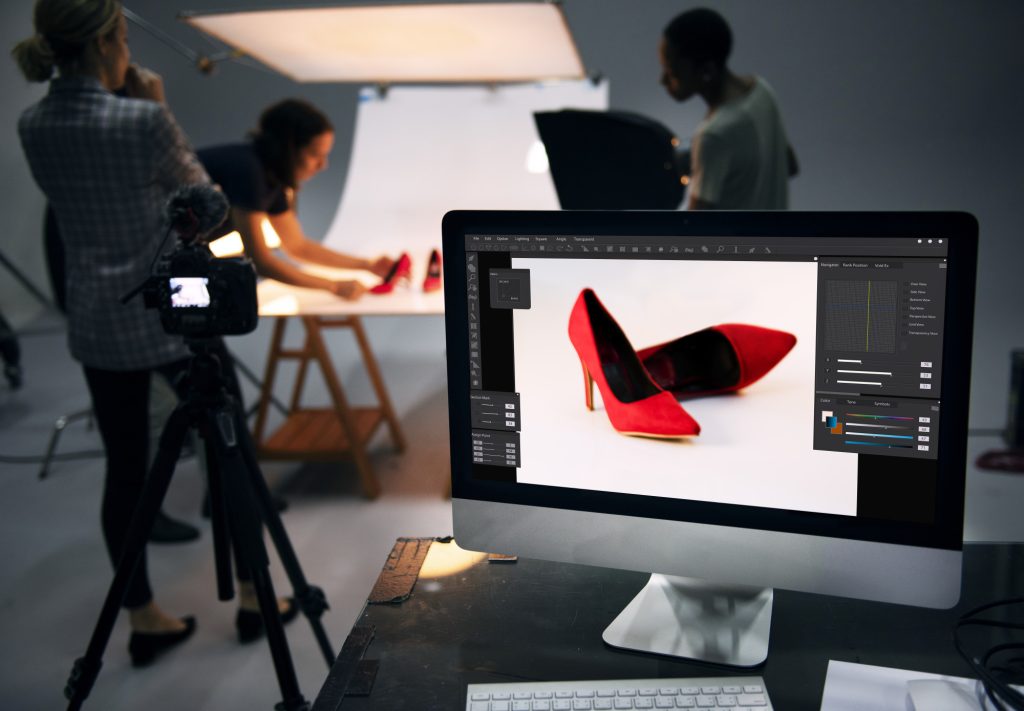
Use the Ghost Mannequin to give your apparel product the finest possible look. It will encourage more visitors to convert to paying clients.
Along with that, I think the costs are fair. The best deal for individuals who sell clothing will be this one. Let’s learn how to create a ghost mannequin in Photoshop.
Step 1: Show Off Your Frontal Image of Clothes
The front view of the photograph must first be opened in Photoshop. Open the first picture in Photoshop first, then work on the other two.
You could be concerned about how to take pictures of the garment. Here is an example picture to help you understand.
Using ghost mannequin services, you may depict your goods in that manner. If you don’t have a mannequin, a hanger will serve to get the picture.
Step 2: Copy the background
While altering, you may see the original picture by duplicating the background layer. Click on the background layer and press “CTRL + J” to duplicate the original layer.
By selecting the eye symbol, the primary layer may also be disabled. After that, you’ll choose the garment to add the neck joint effect to.
Step 3: Choose the Pen Tool and draw a path
In this stage, choose the Pen Tool from the left-side icon. By simultaneously pressing “CTRL and +,” you must enlarge the picture.
By hitting the spacebar after enlarging the view, you may navigate. Go to the bottom of your dress and click on the boundary line to create a route.
Simply click the left mouse button to create a path on it.
Step 4: Isolate the whole dress
The most important stage is now. You must create clipping paths that precisely ring the dress’s edge in order to isolate it.
When working on the body and sleeves, make certain that you have covered the garment with anchor points. No path has to be made in the backdrop.
When you make a path in the neck, it can be more difficult. Here is an image that can help you comprehend.
The fundamental idea is that in order to cover the required object, route creation must be used. The beginning anchor point must now be visited once again.
Step 5: Make a selection and choose a transparent background
Such a picture will be obtained after your product has been completely coated with anchor points.
Use the right mouse button to choose the “Make Selection” option. When you click it after that, dotted lines will start to surround the clothing.
Use “CTRL + SHIFT + I” to have the selection move to the background. Additionally, you may make the backdrop translucent by using the “Delete” key.
There may be observable lines all around your merchandise. These lines may be hidden by using “CTRL + D.”
Now that the clothing is in front of us, we can see it. To create the ghostly mannequin effect, we must connect the neck region and mix it with this layer.
Step 6: The back-trip neck section
You must take pictures of your attire from the front and the rear, as I previously said. This is the image’s inside perspective.
It is necessary to trip the neck region and blend it with the front view. You must decide which pen tools to use and trim the neck region.
Draw vector lines around the neck region, then choose “Make Selection.” Press “CTRL + C” to copy that particular portion after that.
Copy the part, then go back to the first picture. “CTRL + V” is the shortcut key for pasting copied content.
To appropriately match the neck region with the front view, certain adjustments must now be made.
The neck region may be moved about freely with the arrow tool in the top left. “CTRL + T” is the shortcut key for activating free transform when using the transform option. After applying “layer 1,” proceed to apply “layer 2.”
Step 7: Combine Layers and Remove Sharp Edges
The ghost mannequin effect may be achieved in only one step. We must choose between “Layer 1” and “Layer 2” in this phase. To choose “Merge Layer” from the list, press the right key.
A single layer will be created by combining Layers 1 and 2. An edge might be seen in the neck region as a consequence of mixing many layers.
The “Clone Stamp Tool” may be used to fix such obvious edges.
Press ALT to choose a sample area, then click the border to fill in those areas while using the “Clone Stamp Tool.”
Step 8: To Save
Now that we’ve finished, we may save and post our pictures to the internet. In Photoshop image masking, you may save a file in a number of different formats.
From the File menu at the top of the screen, choose “Save As.” In order to preserve photographs with a transparent backdrop, PNG is often utilized.


